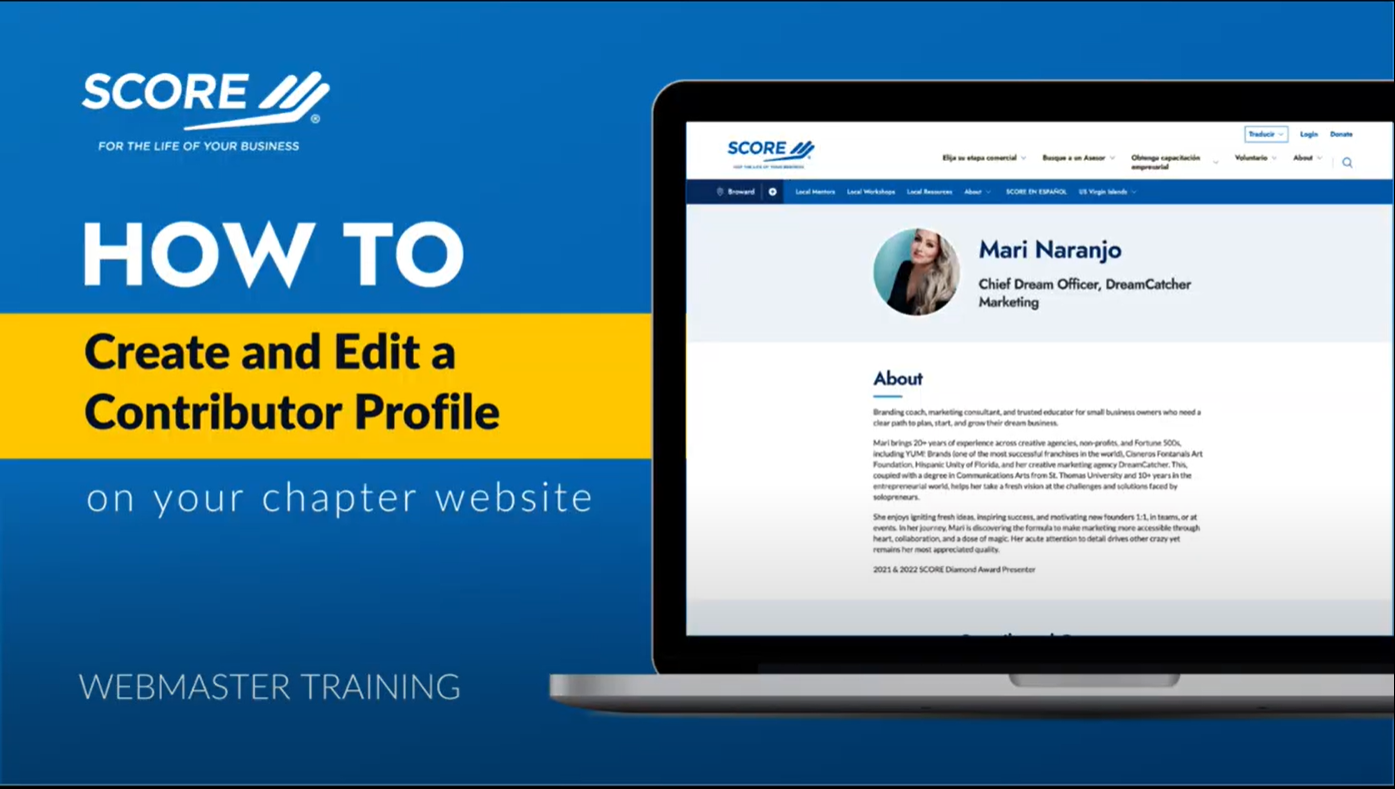
Create and Edit a Contributor Profile

Feb 11, 2026
 1
1
You can watch the following instructional video to learn how to create and edit contributor profiles: Create and Edit Contributor Profile
You can also follow the written instructions below.
How to create and edit a contributor profile:
- Login with your Webmaster credentials.
- Navigate to your chapter website.
- Move your cursor to the left side of your screen and click on Content.
- Hover over Add Content.
- Click Contributor Profile. This is where you'll add the details of a new contributor.
- Add their first and last name to the form. This will automatically load into the Author Name field.
- Save as a draft.
- Click Edit again in the webmaster menu. This avoids an error when you insert all of the information in the form and save it as published.
- Add the Author's Job Title, Business or Company Name, Author Image and a short summary of the author's bio.
- Click Edit Summary to receive the Hidden field.
- Add a short summary of the author's bio.
- Scroll up to the top of the page to Profile Details*, Links and Miscellaneous.
- Click on Links.
- Add social media links and their website in the appropriate URL sections.
- Scroll back up to the top of the page and click on Miscellaneous.
- If the author is also a mentor, click on Browse Content underneath Associated Engage Profile.
- Use the Location box to search for the author's chapter.
- Insert the author's name in the Text search box.
- Click Apply.
- The mentor profile will populate.
- Once all fields that you have information to fill out are completed, navigate to the right side of your screen and change the Current state status to Published.
- Click the blue Save button.
- Once your new contributor profile is complete and saved, you will receive a green success message at the top of your screen that states, "Success. Contributor Profile has been updated," and you will see your new profile page.
How to add a contributor profile to a resource or event content type:
- Login with your Webmaster credentials.
- Go to your preferred event.
- Click the Layout tab in the webmaster menu.
- Click on the Related Content tab.
- Click Presenter.
- Click Select Entities.
- You can search by your author's chapter location in the Location box, or you can search your author's name in the Text Search.
- Click on the checkbox to select your author.
- Click Select Entities.
- You can repeat the same process to select more than one presenter.
- Click Save.
- Scroll to the bottom of the page, and you should see the About the presenter(s) section. This will include their image, name and their bio.
- When you click on Read full bio, this will take you to the full contributor profile.

